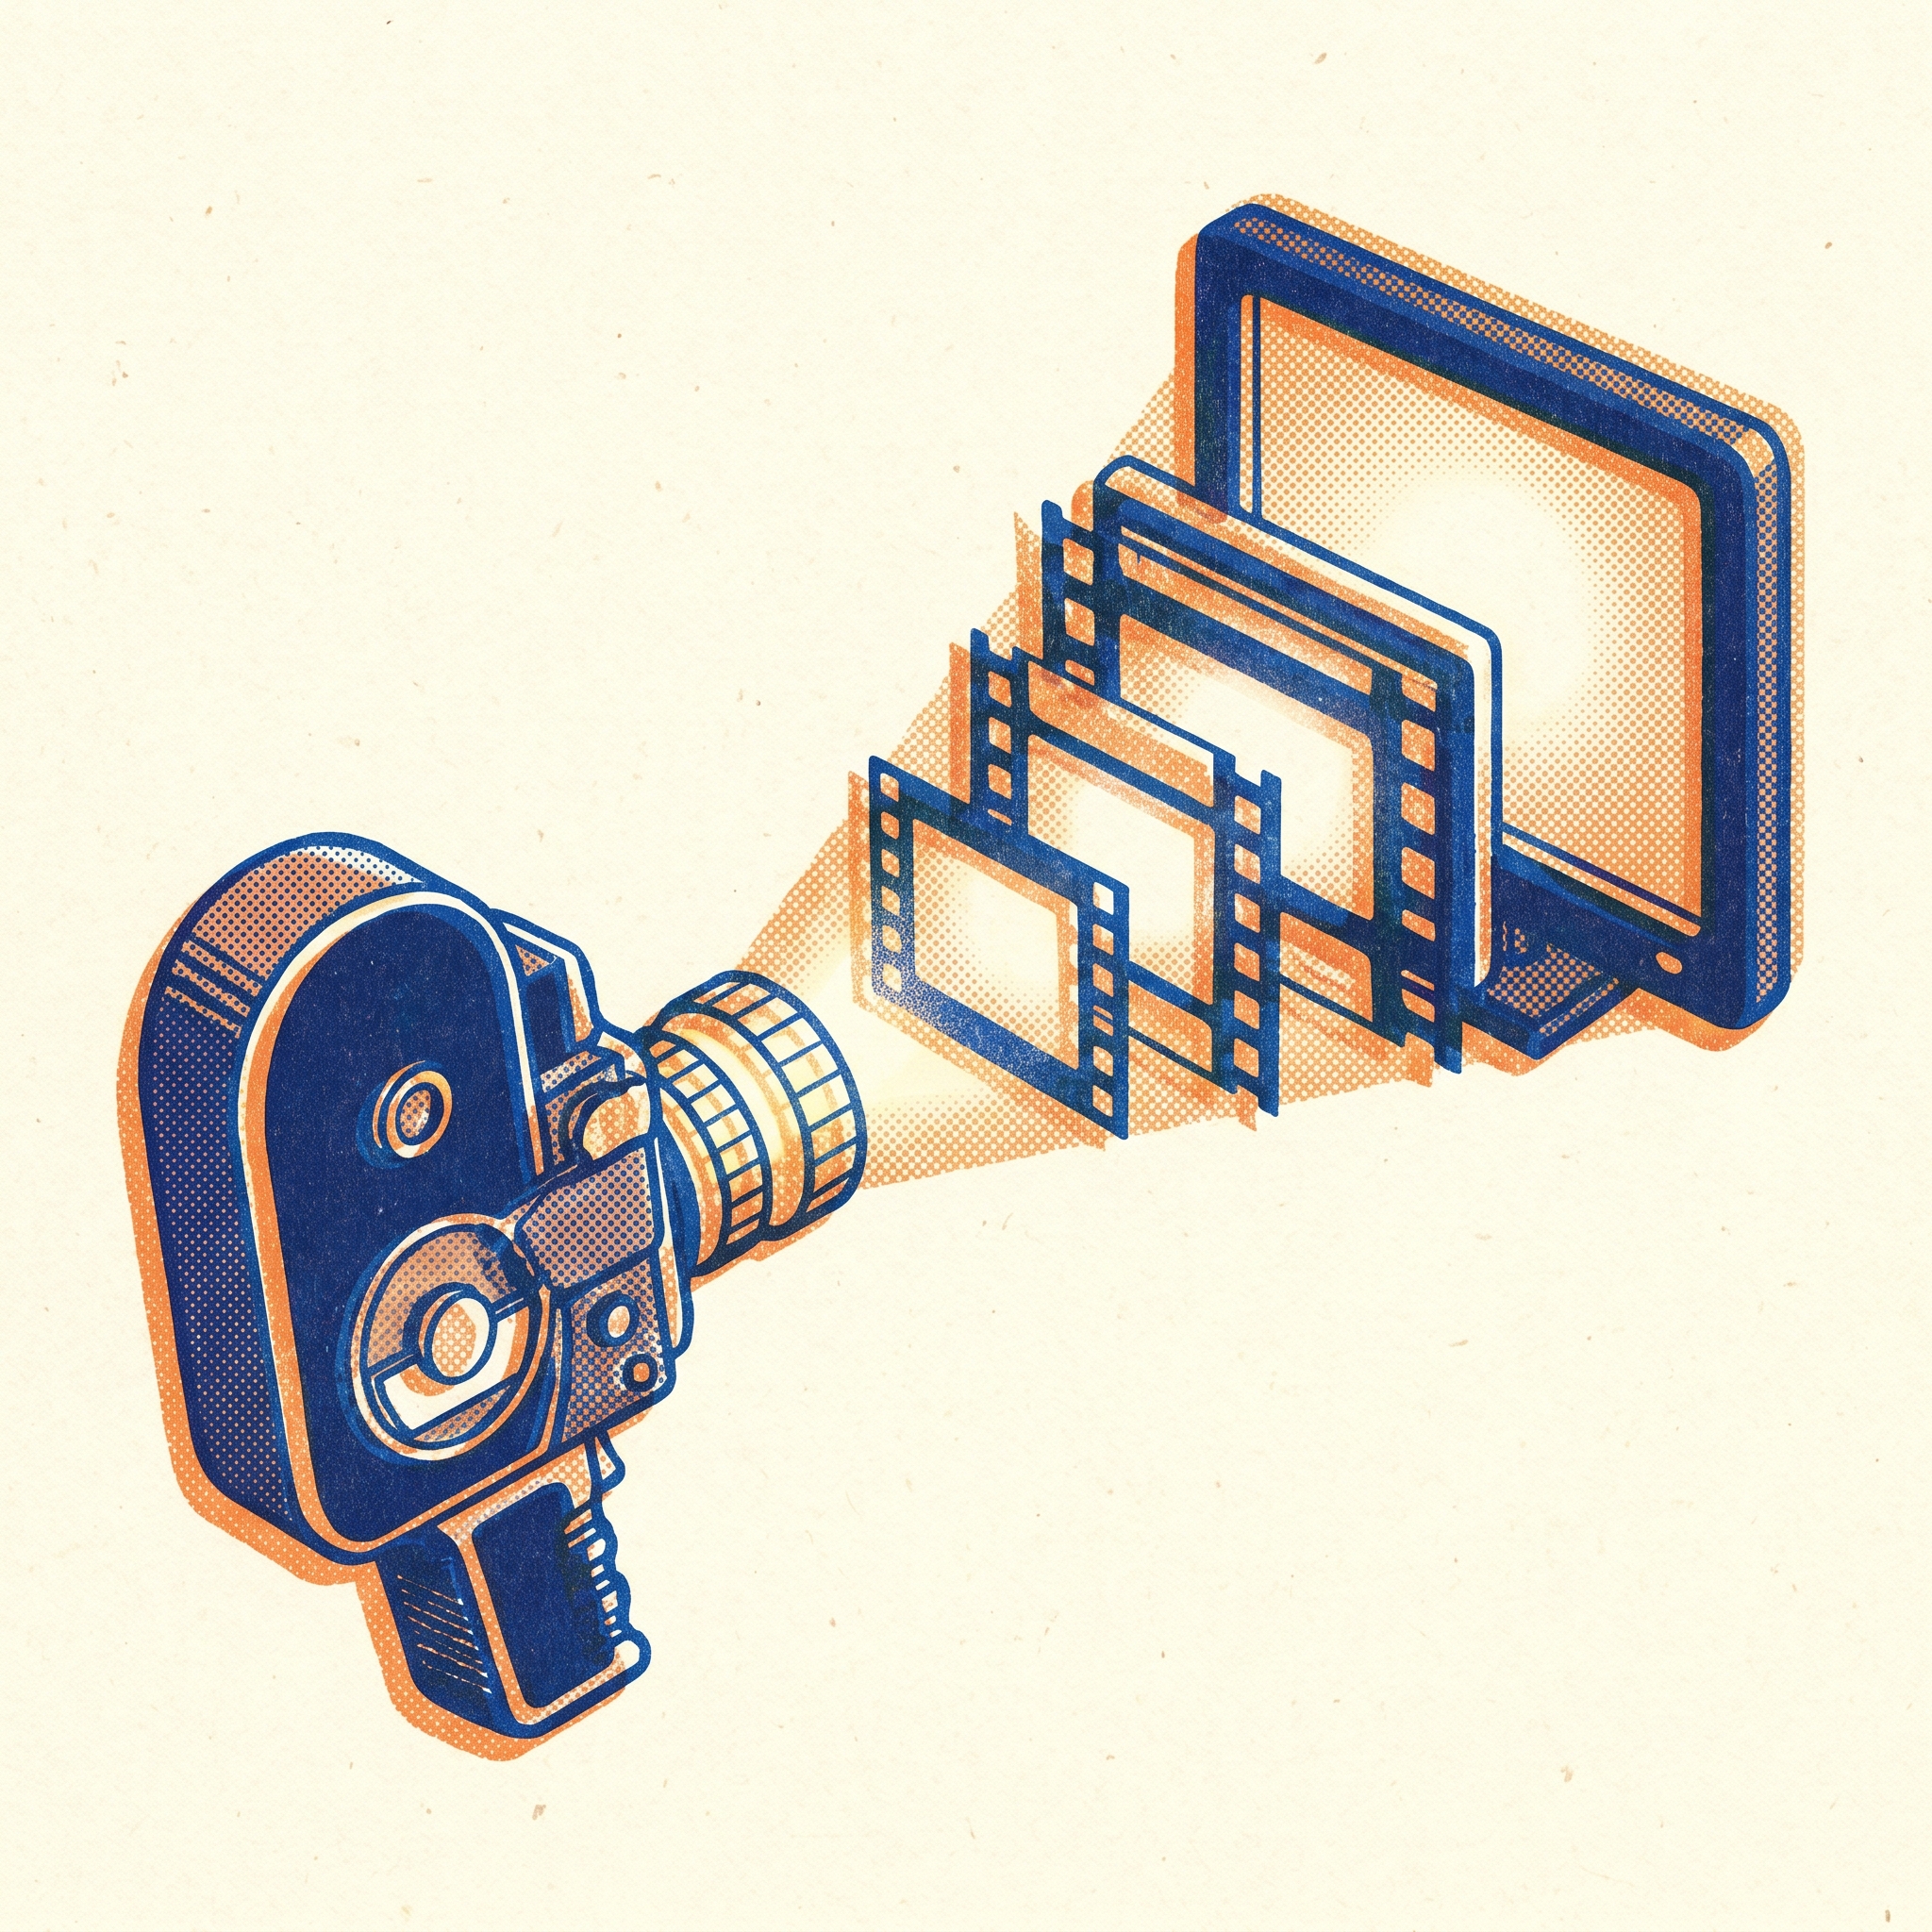
OCDevel AI Video Generation Podcast
Make finished, professional video with AI - not just one-off clips. Every episode pairs a fast news rundown on the AI video generation landscape with a hands-on tutorial that takes you from prompting a website to running a one-person studio. The news tracks what moves a producer's week: the fast-shifting model leaderboard - Veo, Sora, Kling, Seedance, Gemini Omni, Runway and whoever's leading this week — plus the capability changes (native audio, image-to-video, character consistency, price-per-second) that change how you shoot. Then the tutorial climbs a single ladder across the series: from typing a prompt and taking what you get, to reliably landing the shot you pictured, to stitching consistent multi-shot scenes with recurring characters, to a repeatable pipeline, to a one-person studio where a client brief comes in and a finished, on-brand cut comes out while you art-direct from the beach. Text-to-video and image-to-video, keyframes, character and style consistency, the edit, the grade, AI audio, and the business of actually delivering - one copyable workflow and one real pitfall per episode. For creators, marketers, indie filmmakers, and small studios who want to direct AI instead of gambling with it. AI-generated podcast by OCDevel.
Native Audio vs Silent Clips, and Editing a Shot by Conversation
Whether a model hands you sound baked in or a silent clip reshapes your whole edit, and there's a cleaner move than re-rolling: tell the model, in plain words, to change one thing about a clip you already like.

The last stop in Act I, and two ideas about what happens after you generate, which is where the time and money actually go.
Native audio vs silent clips. Some models now generate synchronized sound, dialogue with lip-sync, effects, ambience, sometimes music, in the same pass as the video; others hand you a silent clip to score later. We cover the 2026 frontier (Veo, Kling's multilingual Omni, Seedance, named as a churning snapshot) and why you judge it on the leaderboard's with-audio tab, a different ranking from the silent board. Native audio is a huge speed win for social and for temp/scratch tracks. The catches: it's a single fused layer, so no stems, no remix, no swapping the music or fixing one mispronounced word without regenerating the whole clip, plus licensing questions and the fact that pro mixing wants separate voice/music/SFX tracks with ducking. The hybrid rule: native audio for fast posts and temp tracks; silent (or replaced) for client-grade work and anything headed into a real edit with cuts, music, and retiming. Forward to the voice/lip-sync, music/SFX, and assembly-edit episodes.
Editing a shot by conversation. Instead of re-rolling (episode 5), tell the model to change one thing: "make it sunset," "remove the jogger," "change the jacket to red." We snapshot the tools, Runway's Aleph/Edit Studio, Luma's Modify with Instructions, Kling and Pika edits, and the Artificial Analysis video-editing board. The discipline echoes seeds: change one variable, evaluate, stack only on a success; branch parallel options from the original. Limits and fixes: removals leave ghosts while global styles over-spread (do fragile edits first), identity wobbles on relights, on-screen text stays unreliable, and some "small" edits are full regenerations under the hood, watch the credits.
Callbacks to ep1 (leaderboard tabs), ep3 (image-to-video), ep5 (edit, don't re-roll).
AI-generated podcast by OCDevel. Native-audio support and editing tools move monthly; bench your own shot.
This is the last stop in Act one, the part of the show about getting one good shot, and it's really two linked ideas that both change what happens after you generate. The first is sound, whether your model hands you a clip that already has audio baked in or a silent one you'll score yourself, and why that single fact reshapes your whole edit. The second is a better way to fix a shot than the re-rolling we talked about last episode, telling the model in plain words to change one thing about a clip it already made. Sound first, then editing by conversation.
Both of these are easy to overlook when you're new, because they're about what happens to a clip after it exists rather than how to conjure one. But that's exactly where the time and the money go on real jobs, in the finishing and the iterating, not the first generation. So this episode is about being deliberate at the two moments most people are careless, the moment sound enters the picture, and the moment you decide how to change a shot that's almost right.
Native audio versus a silent clip
Here's the split. Some video models now generate the sound in the same pass as the picture. You write your prompt, and what comes back already has dialogue, sound effects, the room tone of the space, sometimes even music, all of it locked to the action on screen. The mouth moves and the words match. That's native audio, sometimes called synchronized audio, because the sound is generated together with the video rather than added afterward. Other models hand you a silent clip. Just the picture, no sound at all, and the audio is your job later, voiceover, effects, music, all added in a separate step.
As of 2026, the field has tilted hard toward native audio, and it's the leading edge everyone's racing on. Several of the frontier models now do single-pass sound. Google's Veo generates dialogue, effects, and ambient sound together with accurate lip movement. Kling's top tier does multilingual dialogue with lip-sync, where different characters in one scene can even speak different languages with matching mouth movement. ByteDance's Seedance generates dialogue, ambience, and music alongside the video in one go. I'm naming these as a snapshot of June 2026, and you should treat it exactly like every other model claim in this show, as something that churns monthly. The right place to check who's actually best at this is the leaderboard from episode one, and here's the detail that matters, the Artificial Analysis Video Arena has a separate with-audio tab. The ranking of models judged on their sound is a different ranking from the silent one. So when you care about native audio, look at the with-audio board specifically, and bench the top couple on your own shot, because a model can have gorgeous picture and mediocre sound, and the combined board is where you find that out.
So what does native audio actually buy you? Speed, mostly, and coherence. You get instant ambience and foley, that's the craft word for everyday sound effects, footsteps, a door, a cup on a table, named after the Hollywood artist Jack Foley. You get spoken lines already matched to the mouth. And because the model made the sound and the picture together, they feel like one thing instead of two pieces stitched together. For fast social content, a TikTok, a Shorts video, a quick preview to show a client the idea, that's often good enough to publish as-is, and you've skipped an entire production stage. People throw around numbers like cutting your stitching time by more than half, and whatever the exact figure, the direction is right, it's a real shortcut for quick work.
Picture the concrete win. You're making a fifteen-second social spot of a barista sliding a coffee across a counter and saying one line. With a native-audio model, you describe the shot and the line, and what comes back already has the espresso machine hissing in the background, the cup clinking down, the room's low murmur, and the barista actually speaking your line with the mouth moving in time. That's a finished social clip in one generation. The old way, you'd have generated a silent clip, then gone hunting for a coffee-shop ambience track, a cup-clink effect, recorded or synthesized the voice line, and lined all of it up by hand against the picture. For a quick post, native audio collapses that whole afternoon into one prompt. That's the case for it, and it's a strong one when speed is what the job rewards.
Now the catches, because there are real ones, and they get bigger the more professional the job. The biggest is that baked-in audio is permanent. Once the sound is generated into the clip, you can't cleanly pull it apart. You can't easily swap just the music, or remove just the traffic noise, or redo just the dialogue in a different accent. It's all fused into one layer. In a pro audio workflow you want what are called stems, separate tracks for voice, for music, and for effects, so you can balance them independently. There's a standard trick called ducking, where the music automatically drops in volume whenever someone's speaking so the voice stays clear, and you simply can't do that if the music and the voice are welded together in a single baked track. Native audio gives you the fused result, not the ingredients.
There are more catches stacked behind that one. The audio quality is convenience-grade, not studio-grade, fine for a phone speaker, not necessarily for a brand's hero ad on a big screen. The voices can come out with an accent or a pronunciation you didn't want, your product name mangled, a word stressed wrong, and since you can't re-record one word, you're stuck regenerating the whole clip and hoping the next roll gets it right while keeping everything else you liked. That's the failure-mode trap from last episode wearing headphones, a structural problem you can't prompt away. And there are licensing questions around AI-generated voices and music for commercial use that are genuinely still being worked out in 2026, some music tools are mid-negotiation with rights holders, so for a paying client you want to know your sound is cleared, and a baked-in track gives you nothing to point to. None of these matter for a scratch preview. All of them can matter for a paid deliverable.
Make the no-stems point concrete, because it's the one people underestimate until it's too late. Say you deliver a spot with native audio and the client comes back with, love it, but can we get a version with no dialogue for the international cut, and another with the music swapped for our brand track. With separate stems, that's ten minutes, mute the voice track, drop in the new music, done. With baked-in audio, every one of those is a full regeneration, and a regeneration won't even reproduce the same shot exactly, so you're rebuilding the deliverable from scratch and praying it matches. The fused track that saved you an afternoon up front costs you days on the back end the moment anyone wants a variation. Variations are normal in client work. Plan for them.
Which leads to a point that surprises people. Sometimes a silent clip is the better tool, precisely because it gives you nothing. A silent clip is a blank audio canvas. You get total control over the mix, you can drop in a specific brand voice, score the picture with music you've licensed, place every sound effect exactly where you want it, and match the whole thing to a client's audio guidelines. For a polished pipeline, that control is worth more than the convenience of baked-in sound. So the silent-versus-native choice isn't silent equals worse. It's a question of whether you want speed now or control later.
The professionals' answer is usually a hybrid, and it's worth adopting early. Use native audio as your scratch track, your temp sound, to validate the shot. Generate the clip with sound, listen to whether the pacing works, whether the timing of the action feels right, whether the dialogue lands where it should. That's what the native audio is for, a fast read on the cut. Then for final delivery, where you can, take the picture and rebuild the sound properly, a real voiceover, composed music, placed effects, mixed together.
Let me sketch what that proper rebuild looks like, so the later audio episodes have a shape to hang on. You'd take the silent picture, or mute the native track, and build sound back in layers. First, the voice, a voiceover or dialogue from a tool like ElevenLabs, which does synthetic voices and can clone a specific voice and hold a consistent style, and some of these now hook straight into a video-to-voiceover flow. Then music, composed to picture in a tool like Suno or Udio, or from open options like Stable Audio, chosen to fit the length and the mood of the cut. Then the effects, the foley and the spot sounds, placed on the timeline where the action hits, either by hand or with one of the newer agents that auto-places effects against a clip. And finally the mix, which is where it actually becomes professional. You'd keep at least three separate tracks, voice, music, and effects, and you'd use that ducking trick, telling the music to automatically drop a few decibels whenever the voice is speaking so the words always sit on top. None of that is possible with one fused baked track, which is the whole reason pros want the stems. We give voice and lip-sync, music, and the assembly-and-mix their own episodes soon, so this is just the map.
For today, the habit to plant is, native audio is a brilliant draft and often a finished product for quick social, but for client-grade work, treat it as a temp track you intend to replace.
One last practical wrinkle, because it bites people in the edit and they don't see it coming. A clip with baked-in audio is harder to cut. If you want to trim the video to land a cut on a music beat, the baked audio doesn't trim with your intentions, it just runs continuously, so a jump cut in the picture can leave an audible pop or gap in the sound. If you try to lay your own music over the top, it can clash or muddy against the audio that's already there. If you shorten the clip, the sound gets orphaned. And if you slow the clip down or speed it up, the baked audio changes pitch right along with it, chipmunk or slow-motion-monster, with no way to hold the picture's new speed while keeping the sound normal. Separate audio gives you independent control over all of that. Baked audio takes it away. So if you know a clip is going into a real edit, with cuts and music and retiming, that's a strong reason to reach for the silent version or to plan on replacing the sound. Tie this forward to the assembly-edit episode coming up, where cutting picture against separate sound is the whole game.
A quick decision rule to carry out of Part A, since the choice comes up on every shot. Ask where the clip is going. If it's a standalone social post that ships more or less as one clip, native audio is probably your friend, take the speed. If it's one shot among many in a sequence that you'll cut together, with your own music running underneath and a voiceover on top, lean toward silent or toward replacing the baked sound, because you're going to want that independent control in the edit. The shot's destination, not the model's brochure, tells you which kind of audio you want. And if your tool lets you toggle the native audio off at generation time, that toggle is more useful than it looks, it lets you get the silent picture for the edit and, if you want, generate the audio version once just to hear the temp track.
Editing a shot by conversation
Now the second idea, and it's a genuinely better iteration loop than what we had last episode. Remember the lesson from the seeds-and-failures episode, stop blind re-rolling, because re-rolling throws away everything that was working to chase one thing that wasn't. Conversational editing is the cleaner alternative. Instead of regenerating from scratch, you start from a clip you mostly like and you tell the model, in plain language, to change one specific thing. Make it sunset. Remove the person on the left. Slow the camera. Change the jacket to red. Turn it into watercolor. That's instruction-based editing, also called conversational editing, and the appeal is obvious once you see it. You preserve the performance, the blocking, the camera move, everything that already came out right, and you change only the target. It's cheaper than a full re-roll, it's more controllable, and it stacks one change at a time.
Think about why that's such a better loop economically. Last episode the problem was that re-rolling is a fresh slot pull, you give up the whole clip to fix one flaw, and you might lose three things that were perfect to repair the one that wasn't. Conversational editing changes the unit of work. You're not buying a new clip, you're buying one change to the clip you have. So when a shot is ninety percent there and the only issue is the sky's too gray, you don't gamble the whole shot trying to roll a better sky, you just say, make the sky a warm overcast, and keep the ninety percent you already liked. That's the cost-per-finished-clip mindset from episode one, sharpened to its finest point, because the cheapest path to finished isn't a better generation, it's a small surgical edit on a generation you've already paid for.
The tools for this are maturing fast, so again, a snapshot. Runway has an editing model, in its Aleph and Edit Studio line, that does conversational edits on clips up to around thirty seconds, and it can carry an edit across multiple cuts in a sequence rather than making you fix every shot one at a time. The pitch there is fluid editing, real-time conversational changes to footage that used to need specialized software and an expert to drive it. Luma's Dream Machine has a feature literally called Modify with Instructions, where you describe the change, add a crowd, change the season, shift the mood, make it watercolor, and it reworks the footage while trying to preserve the original motion and performance. Luma's version is built to hold onto the physical logic and the performance of the original footage rather than reinventing it, and it works on uploads of around ten seconds, producing edits up to about thirty. Worth knowing its honest limits too, it doesn't generate native audio so you're adding sound yourself, on-screen text stays unreliable, very fast or chaotic motion gets hard, and hands can still throw the occasional artifact. Kling and Pika have their own text-instructed editing on existing clips, on the order of a few seconds up to ten, and Pika has been doing fun targeted tricks like changing the material of an object, turning a wooden chair to ice, while keeping the exact motion of the original. Notice that the catalog of edits is wide, restyle the whole look, swap or relight the background, remove an object, add an element, change a material, retime a camera move, and it grows every month.
And there's a dedicated video-editing board on the Artificial Analysis leaderboard, separate from the generation boards, that ranks these editing tools head to head on real tasks like style changes, object removal, and scene swaps, scored the same way as the others, by people voting in blind side-by-side comparisons. So when you're choosing an editor, that's the board to read, not the text-to-video one, and as always, bench the top one or two on a clip of your own before you commit a workflow to it.
The workflow is the same discipline you learned for seeds, applied to editing. Vary one thing at a time. Start with a clip that's seventy percent there. Issue exactly one instruction. Look at the result, did it help, or did it introduce a new artifact. Only if it worked do you stack the next instruction on top. What you don't do is fire off make it sunset and add a crowd and slow the camera all in one breath, because each instruction ripples, they interact, and if the combined result is wrong you have no idea which instruction broke it. One change, evaluate, then the next. It's the lock-and-vary-one loop from last episode wearing different clothes, and it pays off the same way, you always know what caused what.
Now the limits, because this is still a young capability and it has sharp edges. The first is ripple, where changing one thing shifts others you didn't ask to change. The research pattern here is interesting, these tools tend to over-edit on global changes, so a weather or style change bleeds further than you wanted, and under-edit on removals, so when you ask it to remove an object you're often left with a ghost, a leftover shadow or a smudge where the thing used to be. The fix is to keep removals separate from global style changes, do the removal first, confirm the object and its shadow are truly gone, and only then apply the look.
The second limit is identity and consistency wobble. Run an edit and the face or the product can drift a little across the change, the same drift problem from last episode showing up in a new place. It's worst on global edits that touch lighting or style, because relighting a face is basically redrawing it, and a redraw is a chance to drift. When you're adding something, a person, a prop, anchor it with a reference or a clear description in the same instruction, and avoid edits that demand real physical interaction, like having a newly-added person pick up an existing object, because the tools still struggle to make inserted things interact believably with the scene, the added object tends to float in its own little world instead of casting the right shadow or displacing what it touches. Third, on-screen text stays unreliable, same as in generation, the model will approximate letters but rarely get them perfect, so don't lean on conversational editing to fix or add legible text, do that with normal caption tools in your editor. Fourth, fast motion and hands are still fragile through an edit, so keep camera moves moderate and don't ask for complex hand action. And fifth, the sneaky one, some edits that sound simple are really near-total regenerations under the hood. Asking to change an outfit completely, for instance, can make the model rebuild most of the frame, which means it costs like a regeneration and can drift like one. So keep an eye on generation time and credit use, and don't assume small-sounding means cheap.
Let me give you a copyable workflow. Say you've got a product reveal shot on a plain gray studio background, and the client wants to see a few environments for an A/B test. Upload the source clip. For your first version, instruct, change the background to a sunlit office, keep the product and the person exactly the same, then evaluate, does the product still read right, does the lighting on the person match the new room. For your second version, go back to the original, not the first edit, and instruct, change the background to a modern loft with plants. The reason you branch from the original each time is that it keeps identity anchored to the clean source instead of compounding edits on edits. Only when one version is solid do you stack a further change onto it, like, on the loft version, make the lighting warmer and more cinematic. Then export your variations and compare. Branch from the original for parallel options, stack only on a result you've already approved.
And the pitfall to recognize, the double-bind I mentioned, combining a global style change with a removal in a single instruction. You tell it, make this look like a nineteen-seventies film and remove the modern lamp from the desk. What you usually get is the worst of both, the lamp half-removed with a shadowy ghost still on the desk because the model's trying to keep the desk coherent, and the vintage grade applied unevenly, heavier where the lamp was, lighter elsewhere. The fix is to split it. First instruction, remove the lamp, evaluate, confirm it's fully gone, export. Then on that clean result, second instruction, grade it to seventies film stock. Removal then style, as two passes, each verified. That sequencing alone will save you a lot of confused re-edits, and the credits you'd have burned trying to untangle a result you can't diagnose.
Here's the reason that order matters, stated as a rule you can reuse. Removals are the weak spot, the place these tools under-do the work and leave a residue. Global style changes are the opposite, they over-reach and spread everywhere. So if you bundle them, the strong, spreading change paints right over the spot where the weak change left its ghost, and now the leftover is baked under a grade and much harder to chase out. Do the fragile operation first, on clean footage, where you can actually see whether it worked, and apply the aggressive operation last. That single ordering habit, weak edits before strong ones, fragile before sweeping, will carry you through most multi-step edits.
Let me give one more worked example, because the branching logic is the part people get wrong. Say you generated a fifteen-second clip of a woman walking a dog through a park, and it's good, but there are two problems, a jogger photobombs in the background, and the overall mood is a bit flat. Wrong move, tell it remove the jogger and make it golden-hour magic-hour warm, all at once. Right move, branch and sequence. From the original, instruct, remove the jogger in the background, keep the woman and the dog exactly the same. Watch the spot where the jogger was, has the path filled in cleanly, or is there a smear. If it's clean, export that. Now, on the cleaned clip, instruct, shift the lighting to warm late-afternoon golden hour. Evaluate again, did the woman's face stay consistent through the relight, because relighting is exactly the kind of global change that can wobble an identity. If it drifted, you've learned this clip needs an identity anchor, and you'd hand the editor a reference frame of her face alongside the instruction. Two clean passes, each one verified, beat one ambitious instruction you can't debug.
Where this leaves Act one, and what's next
So you've reached the end of the single-shot stretch with two more tools in hand. You know that whether a clip arrives with sound or silent changes everything downstream, that native audio is a fast draft and often a finished social post but usually a temp track for pro work, and that the with-audio leaderboard tab is where you judge it. And you know there's a smarter move than re-rolling, telling the model to change one thing about a clip you already like, one instruction at a time, with removals and styles kept on separate passes, fragile edits before sweeping ones, branching from the original for parallel options and stacking only on results you've approved.
This sets up the next act directly. The native-audio question opens onto the dialogue and lip-sync episode, and the AI music and sound-effects episodes, where we build sound properly instead of taking what's baked in, and the assembly-edit episode where separate audio stems and picture finally come together in a real timeline. Conversational editing, meanwhile, grows up later into a serious part of the pipeline, where stacked, deliberate edits replace a lot of regeneration entirely. Both of these are really the same theme that's run through all of Act one, you're moving from taking what the model gives you toward directing it, one controlled decision at a time.
That's the whole arc of these first episodes, if you step back. You learned to pick a tool and read the leaderboard, to write a real prompt, to start from an approved frame, to decide the four constraints up front, to lock a seed and name a failure, and now to choose your audio deliberately and to edit by instruction instead of re-rolling. Every one of those is the same move, taking a decision the model would otherwise make at random and making it yourself, on purpose, before or instead of gambling. That's what separates someone who gets lucky with AI video from someone who delivers with it on a deadline. Next act, we stop perfecting single shots and start making them agree with each other, the same character, the same world, across a whole sequence, and the control habits you built here are exactly what make that possible.