OCDevel AI Video Generation Podcast
Make finished, professional video with AI - not just one-off clips. Every episode pairs a fast news rundown on the AI video generation landscape with a hands-on tutorial that takes you from prompting a website to running a one-person studio. The news tracks what moves a producer's week: the fast-shifting model leaderboard - Veo, Sora, Kling, Seedance, Gemini Omni, Runway and whoever's leading this week — plus the capability changes (native audio, image-to-video, character consistency, price-per-second) that change how you shoot. Then the tutorial climbs a single ladder across the series: from typing a prompt and taking what you get, to reliably landing the shot you pictured, to stitching consistent multi-shot scenes with recurring characters, to a repeatable pipeline, to a one-person studio where a client brief comes in and a finished, on-brand cut comes out while you art-direct from the beach. Text-to-video and image-to-video, keyframes, character and style consistency, the edit, the grade, AI audio, and the business of actually delivering - one copyable workflow and one real pitfall per episode. For creators, marketers, indie filmmakers, and small studios who want to direct AI instead of gambling with it. AI-generated podcast by OCDevel.
Image-to-Video vs Text-to-Video: Why a Start Frame Wins Control
There are two front doors into every video model, and most beginners pick the wrong one. Why handing the model a still you already approved beats rolling the dice on pure text, how the prompt changes when the image carries the scene, and when text-to-video is still the right call.

Episode three of the single-shot ladder. You can already type a prompt and get a clip; today we change which door you walk through to get it.
Tutorial. Text-to-video (T2V) invents the picture and the motion from words at once; image-to-video (I2V) animates a still you hand it, so the model only solves motion. We make the case that for finished, consistent, on-deadline work, I2V usually wins, on three stacking fronts: control (you lock composition, character, framing, lighting, and brand before spending video credits), consistency (a start frame anchors identity and kills the mid-clip identity drift that plagues T2V), and economics (drafting in cheap image generations and saving video credits for the final motion pass).
The big behavior change: in I2V the image carries subject, composition, and light, so your prompt should describe motion and camera only, not re-describe the scene. We cover the over-prompting mistake that makes models fight their own image, per Runway's I2V prompting guide, plus why negative phrasing ("no shake") fails and what to write instead.
Also inside: the four start-frame sources (mint it in an image model, shoot a photo, grab a frame, screenshot a mock); first/last-frame conditioning for loops, reveals, and transitions; a copyable mint-load-motion-generate-chain-assemble workflow; what the real knobs look like across current tools (durations, resolution, motion brushes, multi-reference); the five failure modes you'll actually hit (identity drift, over-prompting, first-frame drift, warping on big motion, style drift); and when T2V is still the right tool.
Callbacks to episode 1 (read the Artificial Analysis Video Arena, and note the T2V and I2V boards are different rankings) and episode 2 (prompt anatomy). Forward to character consistency, keyframe chaining, and minting start frames.
AI-generated podcast by OCDevel. Models, limits, and prices move monthly; bench the live leaderboard on your own shot before trusting any ranking.
In the last two episodes we got you producing. The first one was about picking a hosted tool and learning the one skill that outlives every model swap, reading the live leaderboard and benching the top few on your own shot. The second one broke down the anatomy of a video prompt, the subject, the action, the camera move, the lens, the light. So you can already type a description into a website and get a clip back. Today we change how you get that clip. Because there are two front doors into every video model, and most beginners walk through the wrong one.
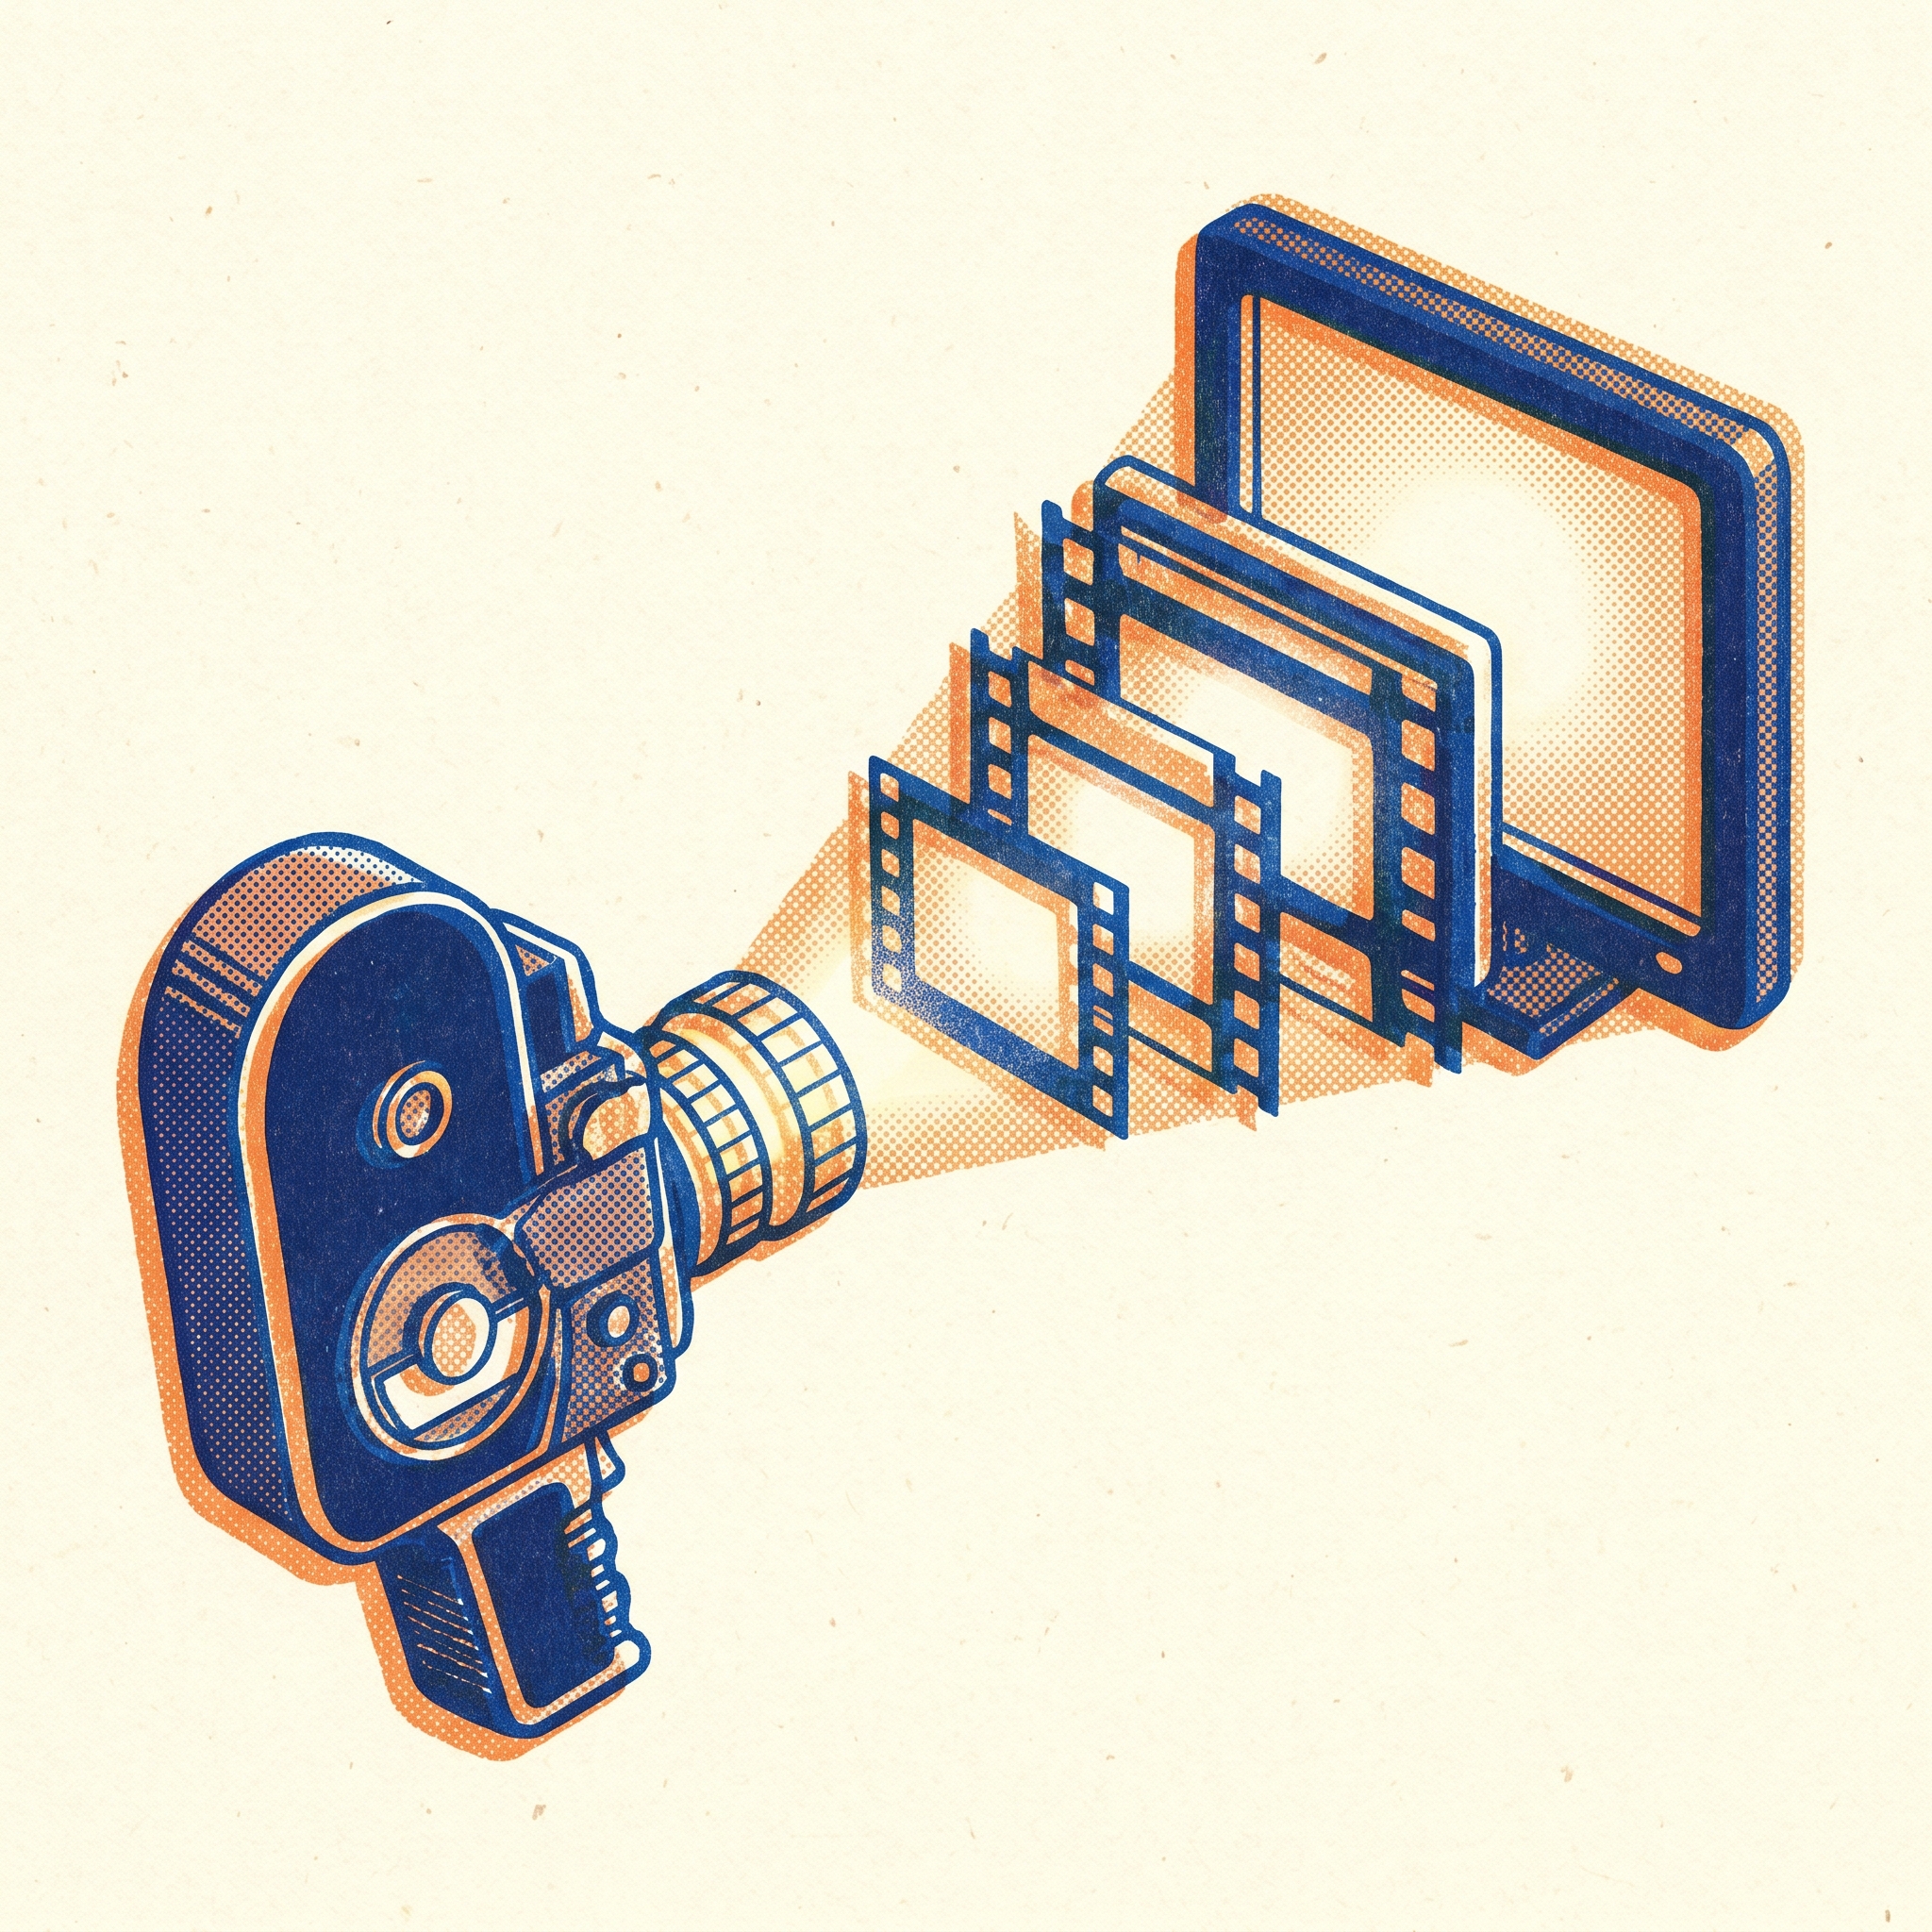
The two doors are text-to-video and image-to-video. We'll shorten those to T2V and I2V for the rest of the episode. Text-to-video means you give the model words and it invents everything from those words, the picture and the motion both, from nothing. Image-to-video means you hand the model a still picture first, and it animates that picture, adding movement and a camera move on top of an image that already exists. That's the whole mechanical difference. One starts from language. The other starts from a frame you can already see.
Here's the thing that took me a while to really feel. When you type a text prompt and hit generate, the model is making two hard decisions at once. It's deciding what the scene looks like, the composition, the faces, the product, the lighting, the color. And it's deciding how all of that moves through time. Those are two separate problems, and you've handed both of them to the dice in a single roll. When you start from an image instead, you've already answered the first question. The look is locked. You approved it. Now the model only has to solve the second problem, the motion. Fewer decisions left to chance means fewer ways for the shot to surprise you.
That's the headline of this episode, and I want to say it plainly so it sticks. Approve the still, then animate it. Mint a frame you're happy with, then hand that frame to a video model and ask only for movement. People in this space call the still you start from a keyframe, which just means a specific frame you've chosen to anchor the shot. So you could call this the keyframe-first workflow. Lock the picture, then add the motion. For most of the finished work you'll actually deliver, this is the path that wins.
Let me make the case in three parts, because I2V wins for three different reasons and they compound.
Why starting from a frame wins control
The first reason is control, in the most literal sense. When you start from an image, you've locked composition, framing, the subject's appearance, the lighting direction, the color palette, and anything branded, before you spend a single video credit. Think about what that means for a product shot. You can generate the product still in an image model, look at it, confirm the logo is right, confirm the bottle shape is right, confirm the label text is readable, and only then animate it. With pure text-to-video, you find out whether the logo came out right after the model has already spent the expensive part of its budget rendering motion. You're inspecting the result instead of approving the input.
The second reason is consistency, and this is the big one. Text-to-video models will quietly redesign things mid-clip. A character's nose drifts halfway through a nod. A face subtly becomes a different face. A logo gets redrawn with slightly different proportions. The industry word for this is identity drift, and it's the single most common reason an AI clip looks wrong in a way you can't quite name. The cause is simple. In pure text-to-video, nothing pins the identity down except your words, and words are loose. Image-to-video resists this because the first frame is a hard anchor. The model is asked to extend that frame, not to reimagine it. One strong reference image beats six competing adjectives trying to describe a face, every time. There's a good write-up on this failure pattern, why your AI videos look wrong and how to fix them, and identity drift is the first thing it names.
The third reason is money, and it's more lopsided than you'd guess. Image-to-video is usually cheaper per generation than text-to-video, because the model is doing less work. It isn't re-rendering the whole environment, the anatomy, the product detail. The image model did that once, up front. The video model only has to handle the motion. On one hosted platform, image-to-video runs around five credits a generation while text-to-video ranges from eight up to sixty depending on the model, the quality tier, and the duration. And remember the mindset shift from episode one, cost-per-finished-clip instead of cost-per-generation. The expensive thing isn't one render. It's the ten re-rolls you do because text-to-video keeps changing your character. When you lock the frame first, you stop paying for those re-rolls. People have put real numbers on this, a product shot animated from a still landing under a dollar against hundreds for a traditional shoot, but treat the exact figures as illustrative since pricing moves monthly.
So those three reasons stack. You get the shot you pictured, it stays itself from the first frame to the last, and you stop torching credits chasing consistency you could have just locked in.
Let me push on that credit point a little more, because it connects to a draft-versus-final habit that'll save you real money. When you mint your start frame in an image model, image generations are cheap and fast compared to video, so you can afford to roll a handful of variations and actually pick the best one. That's your draft pass, and it lives almost entirely in the cheap medium. By the time you spend a video credit, you're animating a frame you've already blessed. Compare that to the pure text-to-video habit, where every draft is a full video render, the most expensive thing you can buy, and you're using that expensive render just to discover whether the composition even works. You're drafting in the costliest medium you have. Moving your drafting into image generation, and saving video credits for the final motion pass on an approved frame, is the practical version of that cost-per-finished-clip mindset from episode one. Same idea, now with a concrete lever you can pull today.
How the prompt changes, and the mistake almost everyone makes
Now here's the part that trips up nearly every person who switches from text-to-video to image-to-video for the first time. The prompt is not the same prompt. You have to write it differently, and if you don't, you'll fight your own image.
In text-to-video you describe the entire scene. Subject, environment, lighting, mood, and the camera move, all of it, because the model has nothing else to go on. Something like, a sleek silver phone on a minimalist white desk, morning light from the left, warm golden glow, camera slowly orbiting from the upper left to the lower right. That's a complete text-to-video prompt. Every word is doing a job, because the model is building the world from scratch.
In image-to-video, the image already is the world. It already carries the subject, the composition, the lighting, the color. So your text prompt should describe only what changes over time. The motion. The camera. Almost nothing else. The mistake people make is they paste in their old text-to-video prompt, the one that re-describes the whole scene, on top of an image that already shows that scene. Now the model is getting the same information twice, and worse, sometimes the words and the picture disagree. The image says warm morning light. Your leftover prompt says cool tones. The model either ignores you or tries to repaint the image to match the words, and your motion quality falls apart while it argues with itself.
Let me give you the wrong version and the right version with that same phone shot. The wrong image-to-video prompt repeats everything, the silver phone, the white desk, the morning light, the golden glow, and then the camera move. You've just described the picture you already uploaded. The right image-to-video prompt is just the motion. Camera slowly orbits the phone from upper left to lower right, a forty-five degree arc, over about three seconds. That's it. Clean, one primary action, and you let the picture carry all the visual weight. Runway's own image-to-video prompting guide says this directly, describe the motion, not the scene.
A couple of practical notes on motion prompting while we're here. Name the camera move with a real word. Dolly, which is the camera physically moving toward or away from the subject. Orbit, circling around it. Pan, pivoting left or right from a fixed spot. Tilt, pivoting up or down. Tracking, following a subject as it moves. Zoom, changing the lens framing without moving the camera. Say which one you want, say the direction, and give it a rough speed or a duration. And start simple. One or two kinds of motion, not five. You can always iterate up.
One more thing that surprises people. On most current models, negative phrasing in the prompt doesn't work the way you'd hope. If you write no camera shake, or don't change the lighting, the model isn't reliably parsing the no. Runway's Gen-4 prompting guide spells this out, the model reads your words as things that should happen, not things to avoid. So instead of no camera shake, write steady camera on a locked tripod. Instead of don't change the lighting, write consistent warm lighting throughout. State the thing you want, in the positive. We'll come back to negative prompts as their own topic in a later episode, because there's more to say, but for now, in image-to-video, describe the motion you want and skip the don'ts.
Where the start frame comes from
So if the workflow is approve the still then animate it, the obvious question is, where does the still come from? You've got four good sources, and they're all valid depending on the job.
The first, and the one this show leans on most, is to mint the frame in an image model. You generate the still in a dedicated image generator, look at three to five variations, pick the strongest, and then animate that one. This is the path for brand control and character consistency, because you get to art-direct the frame to spec before any motion happens. We'll come back to the image models by name in a minute.
The second source is to shoot a real photo. Photograph the product, the set, the talent, with real props and real lighting. This is great for brand continuity, and it's clean legally, because you own the photograph outright. A lot of small-agency work lives here, a real product photo animated into a hero shot.
The third source is to grab a frame from footage you already have. Export a single frame from a previous shoot, from stock footage, from a reference film, and use that as your start frame. This locks framing and style to something that already exists, which is handy when a clip has to match material you've already delivered.
And the fourth is the quick and dirty one, a screenshot or a mockup. A grab from a website, a UI mockup, a storyboard panel, a design comp. Low friction, fast ideation. Perfect when you just want to see if an idea moves well before you invest in a polished frame.
Now, the image models for that first path, as of mid-2026, and remember names and versions churn fast so verify before you quote any of this. Black Forest Labs ships FLUX, currently FLUX 2 Pro, which people reach for when they want high-end photorealism, careful lighting, detailed texture. Midjourney, on version seven, tends to give the most visually arresting frames, the editorial, cinematic, mood-driven look, and it shipped its own video model in April of 2026. Ideogram, on version three, is the one to use when you need readable text inside the image, product labels, signage, brand typography, because text rendering is its standout. Google's image side runs in two lines, the Gemini image models nicknamed Nano Banana, with a faster tier and a pro tier, and the Imagen line, currently Imagen 4. And ByteDance has its own image model, Seedream, which sits right next to its Seedance video model inside the Dreamina interface, so you can mint and animate in one place. You don't need to memorize this. You need to know that minting a frame is a real step with real tools, and that the leaderboard skill from episode one applies here too, bench a couple of them on your own shot and keep the one that nails your style.
The copyable workflow
Let me give you the one workflow to copy, end to end, the way you'd actually run it.
Step one, mint your start frame. Open an image model, FLUX, Midjourney, Nano Banana, whatever you've benched and liked. Write your full scene description there, because this is where scene description belongs. Generate three to five variations. Review them. Pick the strongest one. This costs almost nothing and takes under a minute.
Step two, load that frame into your image-to-video tool. Upload it to whichever video model you're using, Veo, Kling, Luma, Seedance, Pika, Runway, Hailuo, any of them. You haven't spent video credits yet. You're just handing it the picture.
Step three, write the motion-only prompt. Describe the camera move or the subject motion and nothing else. Camera slowly pushes in, about eighteen inches, over four seconds. Resist every urge to re-describe the scene.
Step four, set your constraints and generate. Pick a duration, four to ten seconds for most tools, pick your resolution, and run it. This is the cheap pass. On that platform we mentioned, image-to-video is around five credits versus dozens for a high-quality text-to-video roll.
Step five, and this is the one that turns a single shot into a sequence. Chain it. Take the last frame of the clip you just made, and use it as the start frame for the next clip. Upload that last frame, write a new motion prompt, generate clip two. Because clip two literally begins on the frame clip one ended on, the two pieces flow together without a hard seam. That's keyframe chaining, and it's how you build something longer than one generation can produce. We're going to give chaining a full episode of its own later, because there's craft to doing it without drift, but I want you to see now that it falls right out of the image-to-video workflow. The output of one clip is the input to the next.
Step six, review, export, and assemble. Drop your clips into an editor. CapCut if you're cutting fast for vertical social, it's free and built for that. DaVinci Resolve if you want a free pro-grade tool that also does color and effects, which is the show's default for finishing. Premiere if you're already living in Adobe's world. Stack the clips, add sound, do a quick grade, and you've got a finished piece. We'll spend real time inside an editor in a later episode, so don't worry if that last step is fuzzy right now.
That's the whole loop. Mint, load, motion-prompt, generate cheap, chain, assemble. Internalize it and most of your day-to-day production runs on it.
What the real knobs look like
Let me make this concrete with actual parameters, so the workflow isn't abstract. I'll name some current tools, but treat every one of these as interchangeable and verify the numbers yourself, because they shift constantly. The point isn't the tool. It's the shape of the controls you'll see.
Take Google's video model, Veo, currently on version 3.1, which you can reach through Google's front-end called Flow. For image-to-video it'll take your uploaded frame as a JPEG or a PNG, and it generates at either 720p or 1080p, at twenty-four frames per second, which is the standard cinematic frame rate. Durations are short and fixed, four, six, or eight seconds. It'll take an end frame too if you want the interpolation move, and it accepts up to a few reference images to help hold a character or an object steady. It also generates synchronized audio in the same pass, which we'll get into in its own episode, so for now just notice it's there.
Or take Kling, currently around version three, which leans into camera and motion control. It exposes a motion brush, where you literally paint which part of the frame should move and in which direction, and explicit camera-path controls for pan, tilt, and zoom. Clips run up to about ten seconds, with the newer tier pushing higher resolution and frame rate. It also has a feature for chaining several reference images together to hold a character across shots. Luma's Dream Machine gives you a start-frame plus end-frame slot front and center, adjustable motion strength, and camera moves including a full orbit, and the teams who use it well always say the same thing, generate your base image elsewhere first and upload it, so the model locks your textures and faces instead of inventing its own.
Pika is worth a mention because its first-and-last-frame feature has a friendly name, Pikaframes, you drop in an opening still and a closing still and it fills the middle. Clips are five or ten seconds, it takes a JPG or PNG up to about ten megabytes, and even the free tier lets you try the workflow at lower resolution before you pay for fidelity. And ByteDance's Seedance, reachable through the Dreamina app, is the one to know for big multi-reference jobs, it'll take a stack of reference items in a single project, a handful of images plus a few videos and audio clips, and stretch clips out toward fifteen seconds. That multi-reference idea, feeding several reference pictures in one call instead of training a custom model, is going to matter a lot when we hit character consistency, so file it away.
Notice what's common across all of them. An upload slot for your start frame. Usually a slot for an end frame. A short menu of durations, almost always in the four-to-ten-second range. A resolution choice. And some way to describe or steer motion. Once you can see that shared skeleton, every new tool that launches next month is just a reskin of the same controls, and you'll know what to look for in thirty seconds.
First frame, last frame, and the space between
Now let me open up the control surface a little more, because there's a feature here that's worth knowing about even this early. Almost every serious video model in 2026 lets you condition on a single start frame, which is everything we've talked about so far. But a lot of them now also let you set the last frame. You give the model the opening still and the closing still, and it generates the motion that connects them. The shorthand for this is first-and-last-frame, sometimes written as FLF.
Why does that matter? Because it gives you control over where the shot ends, not just where it begins. You can build a clean product reveal, start frame is the closed box, end frame is the product sitting on a white background, and let the model invent the opening motion in between. You can build a seamless loop by making the start frame and the end frame identical, so the clip plays forever without a visible cut. And you can build deliberate transitions between scenes by setting the last frame of one shot to match the first frame of the next. Tools across the field support this now, the major hosted ones and the open ones alike, so it's worth checking whether your tool has a last-frame slot. Some go further. The open model from Lightricks, LTX, lets you set a start, a middle, and an end frame, three anchor points, and fills in all the footage between them, which is a nice way to force a long shot through a specific midpoint instead of hoping it gets there.
I'm flagging first-and-last-frame now, but not asking you to master it yet. For this episode, single start frame is the move. Just know the endpoint control exists, because it becomes a real tool once you're stitching scenes together in Act two of this show.
When text-to-video is still the right door
I've been selling image-to-video hard, so let me be honest about when you should walk through the other door, because text-to-video is genuinely the better choice for some jobs.
Use text-to-video for fast ideation. When you're exploring, when you want to see five different visual directions for a concept before you commit craft to any of them, text-to-video is faster, because you don't have to mint a frame first. Type five prompts, look at five vibes, pick a direction. It's a thinking tool at that stage.
Use text-to-video for motion-led shots where exact framing doesn't matter. A sweeping landscape, a crowd flowing through a square, an explosion, weather rolling in. Shots that are about movement and atmosphere more than precise composition. A static start frame can actually hold these back, because the energy is in the motion and you don't have a specific frame you're protecting. Some models are praised specifically for this kind of lively, convincing motion, and that's exactly where they shine.
And use text-to-video when you simply have no reference and you want the model's imagination. If you're inventing a product that doesn't exist, or building a world from scratch, image-to-video requires you to first conjure a frame, and sometimes you'd rather describe and discover than decide up front. The most fluent teams actually run both, text-to-video for the imaginative top of a piece, image-to-video for the parts where consistency and brand accuracy have to be exact, and they combine them in the same edit. So this isn't image-to-video good, text-to-video bad. It's two tools, and knowing which one a given shot wants is the skill.
The pitfalls you'll actually hit
Let me walk you through the failure modes, because naming them is half of fixing them. You're going to hit these, so let's make them recognizable.
The first is the one we already covered, identity drift, the character or product redesigning itself mid-clip. It's worst in pure text-to-video. The fix is the whole point of today, anchor identity to an approved frame, and where your tool supports reference images, feed it a clean reference rather than piling up describing words.
The second is over-describing the scene in your image-to-video prompt, fighting your own image. You'll know it's happening when your motion comes out mushy or the lighting starts shifting around, because the model is busy trying to reconcile your words with the picture. The fix is to strip the prompt back to motion and camera. If the image already shows the white desk and the morning light, never mention them. Say what moves.
The third is first-frame drift. This one's subtle. You upload a start frame, but the very first frame of the generated video doesn't quite match it. The lighting nudged, the pose shifted a hair, an object moved. It happens because some models apply a little of their own aesthetic to the input as they integrate it. It's rare, but it stings on brand and product work where the frame has to be exact. A couple of fixes. Use tools known for strong frame locking, and test yours by comparing the first frame of your output against the image you fed in. If you see consistent drift, constraining both ends with first-and-last-frame can pin it down, and if it persists, that's a reason to bench a different model.
The fourth is structural warping during big motion. Ask for a backflip or a fast complex rotation and you'll see geometry bend, hands mangle, faces wobble. The cause is that large motion gives the model more chances to re-decide details, and long durations beyond eight or ten seconds make it worse as temporal detail collapses. The fixes, keep motion moderate, keep durations short, four to eight seconds, start clean source images without extreme crops near hands and faces, and for genuinely complex motion use those midpoint anchors, the start-middle-end style conditioning, to guide the model through the hard part instead of leaving it to improvise.
And the fifth is style drift, where the color or lighting changes mid-clip, warm at the start and cool by the end. It comes from underspecified art direction, one word like cinematic being asked to carry the whole look. In image-to-video you mostly dodge this for free, because the starting image carries the style, as long as you keep the prompt about motion. In text-to-video, anchor the style to one strong reference, a specific film, a named lighting setup, rather than stacking six adjectives and hoping.
Reading the leaderboard for this specific choice
Quick callback to episode one, because the leaderboard does a job here that's easy to miss. The Artificial Analysis Video Arena isn't one ranking. It's split into separate boards, and two of them are exactly the two doors we've been talking about, a text-to-video leaderboard and a image-to-video leaderboard. They are not the same list. A model that tops text-to-video does not automatically top image-to-video, because they're different jobs, as we've just spent half an hour establishing. So when you're choosing a tool for an image-to-video workflow, look at the image-to-video board, not the headline ranking everyone quotes. And there's a separate video-editing board too, for the conversational, change-this-shot kind of work, plus with-audio and without-audio versions of these rankings, which matter once native sound enters the picture in a later episode.
Whatever the standings say the day you look, treat them as a snapshot and bench the top two or three on your own shot. A model can lead the board and still be wrong for your specific product, your specific character, your specific kind of motion. The durable skill is reading the live board and testing on your own footage. The standings churn monthly. Your benched result on your own shot doesn't lie.
Where this leaves you, and what's next
So here's where you are now. You can pick a tool and read the leaderboard from episode one. You can write a structured prompt from episode two. And as of today, you know there are two doors into every model, and for most finished, consistent, on-deadline work, you walk through the image-to-video door. Approve the still, then animate it. Write the prompt about motion, not the scene. Lock your look before you spend the expensive credits.
This opens up a lot of the road ahead. The approved frame you learned to lean on becomes the foundation for character consistency, keeping one face the same across an entire sequence, which is its own episode soon. The last-frame trick becomes keyframe chaining, stitching clip onto clip into a continuous scene, also coming up. And minting that start frame in an image model is worth a whole tutorial of its own, the prompting craft for product-grade and character-grade frames. Each of those is just this episode's idea, pushed further. The frame is the unit of control. Today you learned to approve it before you animate it. Next, we make that frame do more work.