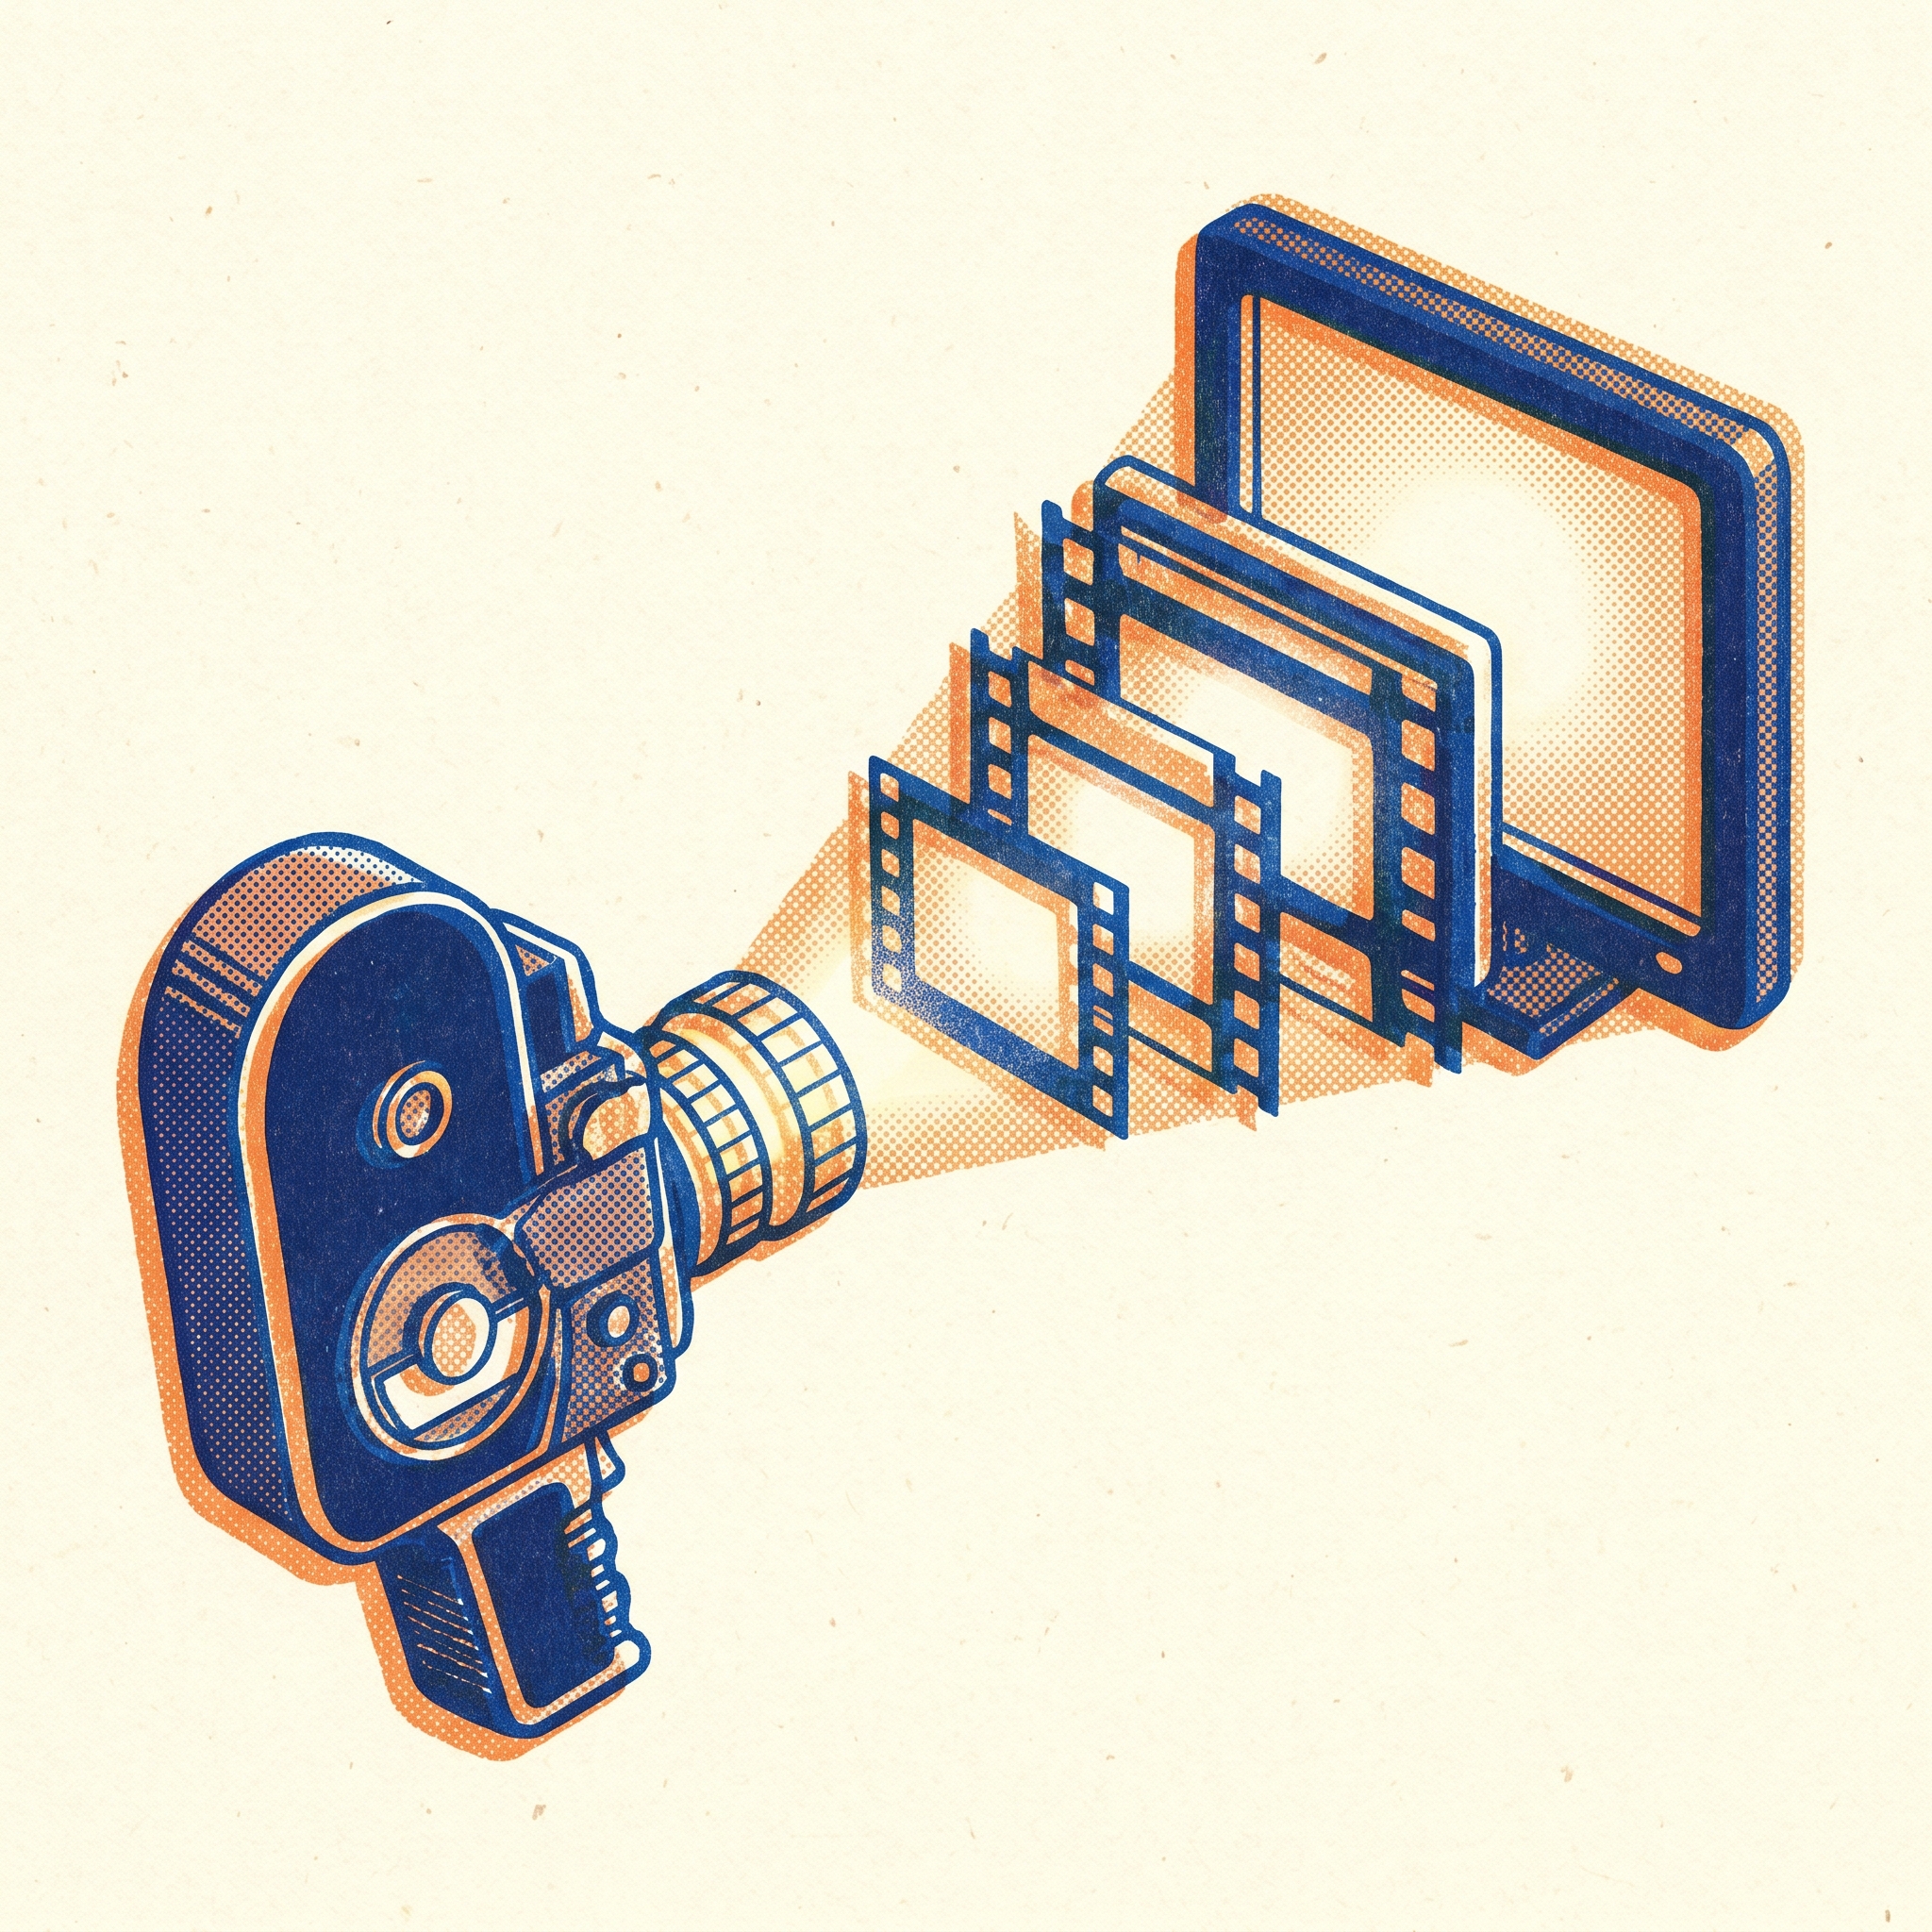
OCDevel AI Video Generation Podcast
Make finished, professional video with AI - not just one-off clips. Every episode pairs a fast news rundown on the AI video generation landscape with a hands-on tutorial that takes you from prompting a website to running a one-person studio. The news tracks what moves a producer's week: the fast-shifting model leaderboard - Veo, Sora, Kling, Seedance, Gemini Omni, Runway and whoever's leading this week — plus the capability changes (native audio, image-to-video, character consistency, price-per-second) that change how you shoot. Then the tutorial climbs a single ladder across the series: from typing a prompt and taking what you get, to reliably landing the shot you pictured, to stitching consistent multi-shot scenes with recurring characters, to a repeatable pipeline, to a one-person studio where a client brief comes in and a finished, on-brand cut comes out while you art-direct from the beach. Text-to-video and image-to-video, keyframes, character and style consistency, the edit, the grade, AI audio, and the business of actually delivering - one copyable workflow and one real pitfall per episode. For creators, marketers, indie filmmakers, and small studios who want to direct AI instead of gambling with it. AI-generated podcast by OCDevel.
Seeds, Negative Prompts, and the Failure Modes You Will Actually Hit
Stop feeding the slot machine. How a fixed seed gets a look back instead of getting lucky, why telling a model what to avoid usually backfires, and how to name the way a clip broke so you know whether to tweak the prompt, change the shot, or stop rolling.

Episode five of the single-shot ladder, and the one that stops you torching credits. Three tools that turn blind re-rolling into deliberate debugging.
Seeds. A seed is the random starting number behind a generation; fix it and the same prompt plus the same settings reproduces the same clip. We cover the "lucky accident" tax (landing a great shot on a random seed you never captured), how seed fields show up in current tools, and the core workflow: lock the seed, change exactly one variable, compare. Plus the honest limits, seeds often don't survive a model-version bump, don't port across providers, and in image-to-video the start frame (episode 3) is the real reproducibility lever, not the seed.
Negative prompts. Telling a model what to avoid often backfires, many video models (e.g. Runway Gen-4) read your words as what should happen, so "no clouds" can yield more clouds. The fix is positive phrasing: "a single person walking alone," "steady camera on a locked tripod." Tools with a dedicated negative field can help, but only for stability hints (no flicker, no drift), never vague quality words.
The failure modes, named so you can recognize them: morphing hands, face distortion at distance, identity drift, broken physics, warping in fast motion, flicker, jelly/wobble, background instability, the plastic "AI sheen," gibberish text, and mushy small details. The organizing idea, structural vs stylistic: structural failures (physics, drift, coherence) need a changed shot (shorter, simpler, an image anchor, a different model), not a reworded prompt.
Plus a triage loop, a worked convergence example, and the pitfall: burning 30 credits forcing an impossible shot instead of breaking it into achievable pieces. Callbacks to ep1 (cost-per-finished-clip), ep3 (start frame beats seed), ep4 (shorter duration kills failures). Forward to character consistency and conversational editing.
AI-generated podcast by OCDevel. Model behavior, seed reproducibility, and negative-prompt support move monthly; bench your own shot.
So far this show has been about getting a good clip. Today is about two things that sound technical but are really about control, getting the same good clip back when you want it, and recognizing the specific ways a clip goes wrong so you stop paying to re-roll problems you can't re-roll your way out of. Three topics, seeds, negative prompts, and the failure modes you'll actually hit. The thread connecting all three is the cost lesson from episode one. Most wasted credits in this whole craft come from re-rolling blindly, hoping the dice land better. Seeds, negatives, and failure recognition are how you stop gambling and start debugging.
Seeds: getting a look back instead of getting lucky
Let me start with the seed, because it's the most misunderstood setting in the whole interface. A seed is just the random starting number a model uses to begin a generation. Think of it as the very first dice roll, the bit of randomness everything else builds on. Here's why you care. If you leave the seed on random, which most tools do by default, every generation starts from a different number, so the same prompt with the same settings gives you a different clip every time. The tool becomes a slot machine. But if you fix the seed to a specific number, and you keep the prompt and the settings the same, the model starts from the same place and reproduces the same generation. Same number in, same clip out.
That solves a problem you've probably already hit without naming it. You roll a shot, it's perfect, you love it. You roll again to get a tiny variation and the magic is gone, and now you can't get the good one back, because it was made on a random seed you never captured. That's the lucky-accident tax. You re-roll five more times chasing lightning, burning credits, and it never comes back. A fixed seed is the cure. When you land something good, note the seed number, and you can return to it later, or build from it.
How do you actually use it? In the tools that expose it, there's a seed field, sometimes shown as a number you can copy, sometimes as a toggle between random and fixed. On Runway, for example, there's a fixed-seed option where you can paste in the seed from a previous output, and the field takes a big integer, anything from zero up into the billions. The exact location moves around as interfaces change, and not every tool surfaces it cleanly, so this is one of those things worth checking on whatever platform you've settled on. Pika exposes a seed, Seedance exposes a seed, the major ones generally have it somewhere even if it's buried.
Now the real payoff, which is a debugging workflow I want you to internalize. Lock the seed, then change exactly one thing. Here's the loop. Generate on random until you get something close, then grab that seed and lock it. Now change a single variable, one prompt detail, or one setting, and generate again. Because the seed is held still, any difference in the output came from the one thing you changed. You're running an experiment with a control. Compare, keep the change if it helped, revert it if it hurt, and go again. Versus the usual approach, where people change the prompt and the seed and three settings all at once, get a different clip, and have no idea which change did what. Vary one variable at a time and you converge on the shot you want. Change everything at once and you're just rolling new slot pulls with extra steps.
A concrete version. Say you've got a man walking across a room, seed locked, and the shot's decent but the background is shimmering. Keep the same seed, add to the prompt that the back wall is a solid plain wall with no movement, and regenerate. Now the only change is that description, so if the background settles down, you know that's what did it. Keep the seed and the new prompt, then lower the motion strength a notch, regenerate, and see if it steadies further. You're narrowing in, deliberately, a few generations instead of twenty.
Let me play that out fully, because the convergence is the whole point. Generation one, seed locked, the man walks, it's fine but the wall behind him is doing that jelly shimmer. Generation two, same seed, you've added the solid-wall description, and now the wall holds, but you notice his stride looks a touch frantic. Generation three, same seed, same wall prompt, you drop the motion strength down a step, and now the walk is calm and the wall is steady and you've got your shot. Three deliberate rolls, each one telling you something. Compare that to the blind version, where you'd have rerolled on random seeds fifteen or twenty times, changing a word here and a setting there, getting a brand-new clip every time with no idea which lever mattered, and probably never quite landing it. The locked seed turns guessing into measuring. That's not a small efficiency. On a complex shot it's the difference between a handful of credits and a torched budget, which is the cost-per-finished-clip mindset from episode one showing up in your actual bill.
While we're on settings to vary, the seed isn't the only knob worth isolating. Many tools expose a motion strength or motion amount control, sometimes called a motion bucket, which governs how much movement the model puts into the clip. Turning it down gives you calmer, more stable footage with fewer of the time-based failures we'll get to, turning it up gives you more dynamic but riskier motion. There's often an adherence or guidance setting too, which controls how literally the model follows your prompt versus how much it improvises. The point isn't to memorize every slider. The point is that each one is a variable you can lock everything else and test in isolation, the same lock-and-vary-one discipline, so when a clip is almost right you can find the single setting that gets it the rest of the way instead of flailing at all of them at once.
But I have to be honest about the limits of seeds, because people over-trust them. A seed is not a magic permanent address. It's often not reproducible across model versions, so if the platform upgrades the model under you, that same seed and prompt can come back looking different, because the thing interpreting the number changed. Seeds aren't portable across providers either, seed twelve-thousand on one tool means nothing on another, they're local to each platform. And on some tools, changing other settings, the resolution, the aspect ratio, the frame rate, can also break the reproducibility you thought the seed gave you. So treat a seed as reliable within one model, one version, one set of settings, and don't expect it to survive a move.
And here's the most important caveat, the one that ties back to episode three. Seeds behave very differently in text-to-video versus image-to-video. In text-to-video, the seed is doing a lot of work, because there's nothing else anchoring the output. But in image-to-video, the start frame is the dominant control, and the seed is a secondary flavor knob. Changing your input image changes the result far more than changing the seed ever will. So if what you really want is reproducibility and control, the lesson from episode three still stands, the approved start frame is your strongest lever, and the seed is a fine-tuning detail on top of it. Reach for the start frame first, the seed second.
Negative prompts: telling the model what to avoid, and why it often doesn't listen
The second tool is the negative prompt. On the tools that have it, a negative prompt is a separate box where you list what you don't want, things like blur, distortion, extra fingers, a watermark, flicker. The idea is intuitive. Tell the model what to avoid, and it avoids it. The reality in 2026 is messier, and I'd rather you hear the honest version than the marketing one.
Here's the big thing to understand. Many modern video models read your words as a description of what should happen, not a list of what to avoid. Runway's own guidance for its Gen-4 model is blunt about this, negative phrasing isn't supported and can produce unpredictable or even opposite results. If you write no clouds, the model sees the word clouds and may give you more of them, because it's reading what's there, not the no in front of it. Creators report that on these models, stuffing negatives into the prompt is wasted effort at best and counterproductive at worst.
So what works instead is positive phrasing, describing the state you actually want. Instead of no extra people, say a single person walking alone. Instead of no motion blur, say sharp, crisp motion. Instead of no camera shake, say steady camera on a locked tripod. You're giving the model a target to hit rather than a thing to not think about. This is genuinely one of the highest-leverage habits in prompting, and it runs counter to instinct, because in everyday language we list what we don't want all the time. The model doesn't work that way. Name the positive.
Run through a few more of these rewrites, because once you see the pattern you'll do it automatically. You don't want an empty, deserted street, so instead of writing no people, you write a quiet street at dawn, the description that gives you emptiness as a side effect. You don't want a cluttered desk, so rather than no clutter, you write a clean minimal desk with a single laptop. You don't want the camera lurching around, so rather than no shaky cam, you write a smooth, controlled dolly move on rails. In every case you're translating a prohibition into a picture. The model can render a picture. It can't reliably render the absence of one. And there's a bonus, positive descriptions tend to be more specific, and specific prompts give the model less room to drift, so you're improving the shot and dodging the backfire at the same time.
There's one honest exception worth stating plainly. On the tools that do have a dedicated negative-prompt field, separate from the main prompt, the negatives there are handled differently and can genuinely help, but mostly for stability. So on a model with a real negative field, putting no flicker, no facial warping, no sudden zooms in that box can take the edge off those specific artifacts, especially on a model that's already strong on camera stability. What still won't work, even there, is the vague quality stuff, low quality, bad, ugly, those words don't map to anything the model can act on, so they just sit there doing nothing. Use the negative field, when you have one, for naming specific instabilities, never as a junk drawer of quality adjectives.
Now, some tools do have a real, separate negative-prompt field, and it does help in those, with a catch. On the platforms that support it, negatives tend to work best when they target stability and consistency rather than vague quality words. A negative like no camera drift, no sudden zooms, no flicker can nudge a model that's already good at stable camera work to be a little more stable. But generic negatives like low quality or blurry usually get ignored, because they don't correspond to anything the model can actually act on. And the underlying research is improving here, newer architectures are getting better at honoring negative guidance, so this may shift over the next year. But the durable rule today is simple. Positive phrasing beats negatives. If you're on a model that reads prose only, skip negatives entirely, they can backfire. If you're on one with a real negative field, use it for stabilization hints, not as a substitute for describing what you want. Don't pile up twenty negatives and expect magic. Most of them do nothing.
The failure modes, named so you can recognize them
Now the part you'll use the most, the catalog of ways AI video goes wrong. The reason to learn these by name is diagnostic. When you can look at a broken clip and say, that's identity drift, or that's broken physics, you instantly know whether a re-roll will help, whether a prompt tweak will help, or whether you need to change the shot entirely. Without the names, every failure looks the same and your only tool is re-rolling. With them, you debug.
Here's why the names earn their keep. A beginner watches a clip fall apart and feels a vague wrongness, so they do the only thing they know, hit generate again and hope. A working creator watches the same clip, says that's flicker from overlapping motion, or that's identity drift on a long text-to-video shot, and reaches for the specific fix in seconds. Same clip, completely different response, and the difference is vocabulary. So even if you forget the exact cause of each one, learning to point at a failure and name it is what converts a panicked re-roll into a calm fix.
Before the list, here's the single most useful distinction, and it'll organize everything else. Failures come in two kinds, structural and stylistic. Stylistic failures are about look, the wrong color, a too-smooth face, a generic feel, and those you can often fix by changing the prompt or the settings. Structural failures are about the model failing at something hard, physics, keeping a face consistent, holding detail over time, and those you usually cannot prompt your way out of. For a structural failure, changing the words rarely helps. You have to change the shot itself, shorter, simpler, an image anchor, a different model. Keep that fork in mind as I go through these.
Let me group them by family, starting with the body problems, because these are the ones audiences notice fastest. The classic is morphing hands and fingers. You'll see fingers appear and vanish and reassemble, a hand that suddenly has six fingers, a wrist that rotates wrong between frames, fingers that seem to melt mid-gesture. Hands break because they're small, they overlap and hide each other, and they demand frame-to-frame consistency the model struggles to hold. This is structural. The fixes are about giving the model less chance to fail, keep hands still or out of the action, shoot wider so hands are small in frame instead of a detailed close-up, keep the clip short, and if you're doing image-to-video, start from a frame where the hand is already correct. A re-roll on a new seed sometimes helps because it's partly luck, but you can't reliably prompt good hands into existence.
In the same family is face distortion at distance. A face in a wide shot goes pixelated or deformed, the nose wrong, the eyes asymmetric, while the very same face in a close-up is fine. Small faces are low-detail, the model has less to work with, so it hallucinates badly. The fix is to reframe closer so the face is bigger, or accept it's small and don't lean on it, or in image-to-video feed a clean close-up reference. And the close cousin is identity drift, which we named back in episode three, where a person's face slowly becomes a slightly different person over the clip, the jaw shifting, the eyes changing. It's worst in long text-to-video clips with no anchor. The fixes are the episode-three fixes, use image-to-video with a reference frame, keep the duration short, and lean on models known for holding identity. A different seed can give you a luckier trajectory, but the durable fix is the anchor.
The next family is physics problems. Broken physics is a hand passing through a coffee cup without moving it, a person clipping through a wall, an object floating with nothing holding it, cloth passing through a body. It happens because these models are pattern matchers, not physics engines. They learned what hands usually look like near cups, but not the rule that solid things can't occupy the same space. This is firmly structural, and a negative prompt will not fix it. Telling the model no clipping doesn't teach it physics. You fix it by simplifying, one motion at a time instead of a hand moving and the cup moving and the camera moving all at once, a shorter clip so errors don't compound, a wider frame, and sometimes a newer model that's simply better at physical plausibility. Related is warping during fast motion, where a whip-pan bends the background or a crash zoom stretches the frame, because matching fast motion forces the model to distort pixels and its motion estimates get inaccurate at speed. The fix is mostly speed, slow the camera move down, don't combine fast motion with complex action, and keep it short. Slower and simpler beats fast and ambitious almost every time.
The third family is the time problems, the ones that come from the model failing to stay consistent frame to frame. Flicker is brightness, color, or texture pulsing across frames, a shimmering, melting look. It comes from unstable lighting estimates, too much motion, or an overloaded, contradictory prompt. You fight it by specifying the lighting clearly, soft even lighting, by reducing motion to one gentle move, by trimming contradictory adjectives out of the prompt, and by lowering motion strength if your tool exposes it. A related one is jelly or wobble, where a supposedly static background shimmies, a flat wall ripples, grass oscillates. The cause is underconstrained motion, when you say static, the model isn't sure, so it invents micro-movements. The fix is to be aggressively explicit, static tripod shot, no camera movement whatsoever, one clear motion instruction instead of vague stillness. And background instability is the same idea on the scenery, wallpaper or trees or clouds morphing because the background was a low priority in the prompt and the model let it drift. Describe the background plainly, or keep it simple, a solid color or a soft blur is far more stable than an intricate pattern.
The fourth family is the texture and detail problems. There's the AI sheen, the plastic, waxy, over-smooth look on skin, where pores vanish and faces go glossy. It comes from the model averaging texture to keep things consistent, and from aggressive upscaling and denoising afterward. You can push against it in the prompt by asking for natural skin texture and visible pores instead of flawless smooth skin, and by easing off the denoising if you're upscaling, but a lot of it is baked into the model, so model choice matters. Then there's text turning to gibberish, where letters on a sign or a page warp and change spelling frame to frame, because the model generates what text looks like, not what it says. The honest fix here is to avoid text in the generation entirely and add it as a clean layer later in your editor. That sidesteps the whole problem. And finally gibberish small details, watch faces, book spines, license plates, fabric weave that render as mush, because tiny details get compressed away. The fix is the same philosophy, don't build a shot that depends on small details surviving, and if you need them, add or fix them in post.
Notice the pattern across all four families. The fixes repeat. Shorter duration, which ties straight back to episode four, because most of these failures compound over time and a four-second clip is far safer than an eight-second one. Simpler motion, one move per shot. An image start frame as an anchor, from episode three. A wider or a closer reframe. A new seed when it's partly luck. Or a different model when the current one just can't. And the deeper pattern, structural failures need a changed shot, stylistic failures need a changed prompt. Learn to tell which is which on sight and you'll stop wasting rolls.
The triage loop, and the trap of the impossible shot
Let me give you the copyable workflow, a triage flow for any clip that came out wrong. Step one, name the failure mode, out of the families we just covered. Step two, decide if it's structural or stylistic. If it's structural, physics, drift, coherence over time, don't touch the prompt wording, change the shot, shorter, simpler, anchored, or a new model. If it's stylistic, look and feel, then tweak the prompt or settings. Step three, ask whether you're in text-to-video or image-to-video, because the answer often is, switch to image-to-video with a reference frame, especially for any identity or consistency failure. Step four, apply exactly one fix and re-roll on the same locked seed, so you can see whether that fix actually did anything. And step five, the discipline, if you've tried three honest fixes and it's not converging, stop. Don't keep feeding the slot machine.
Let me walk one through so the triage feels real. You generate a clip of a chef plating a dish, and it comes back with the chef's hands melting as they move and the printed menu on the wall reading as nonsense letters. Step one, name them, that's morphing hands and gibberish text. Step two, both are structural, neither is a wording problem. Step three, so you don't fiddle with adjectives. For the hands, you switch to image-to-video off a clean start frame and you shorten the clip and you push the hands lower-action, resting the plate down rather than a flurry of garnishing. For the text, you stop trying to make the model spell, you regenerate the wall blank and add the menu text as a layer in your editor afterward. Step four, you make those changes and reroll on the same seed to confirm they landed. And just like that you've fixed two failures that no amount of rerolling the original shot would ever have fixed, because you correctly read them as structural and changed the shot instead of the sentence.
That last point is the pitfall, and it deserves its own name. Call it the impossible-shot trap. You want a close-up of two people kissing while the camera does a full three-hundred-sixty-degree orbit around them, in a rain-soaked neon city street packed with detail. You burn thirty credits re-rolling and tweaking and swapping seeds, and it never comes together. It never comes together because that shot stacks three of the hardest things at once, two faces that have to stay consistent, extreme camera motion, and dense background detail, and the model can't satisfy all three simultaneously. No prompt rescues that. The move is to break the shot apart, the close-up of the faces as one static clip, the orbiting wide shot without the faces as another, the rainy city detail as a third, and combine them in your editor. Or to reduce the demands, two people kissing with a slow push-in and a simple dark background is very achievable, you just had to drop two of the three failure vectors. And you can check feasibility cheaply before you commit, bench the idea on a cheap model first, the way episode one taught, because if the top model can't do it, neither can the budget one, and you've learned that for almost nothing.
The lesson underneath the whole episode. Re-rolling is for fine-tuning a shot the model can do, not for forcing a shot it can't. Seeds let you re-roll deliberately instead of blindly. Failure-mode names let you tell, at a glance, whether re-rolling will even help. And the cost-per-finished-clip mindset from episode one is what tells you when to stop rolling and start changing the shot.
Where this goes next
So you can now lock a look with a seed and vary one thing at a time, you know to phrase prompts as what you want rather than what you don't, and you can look at a broken clip, name the failure, and know whether it's a prompt fix or a shot change. That's most of the day-to-day debugging of single shots.
This sets up the next stretch of the show. The identity drift we kept running into is exactly the problem the character-consistency episodes solve in depth, with reference images and dedicated identity controls that go well beyond a lucky seed. And there's a cleaner way to fix a flawed shot than re-rolling the whole thing, which is conversational, instruction-based editing, where you tell the model to change one specific part of an existing clip instead of regenerating from scratch. That's a tool we'll reach for soon, and it changes the economics again, because the most efficient fix isn't a better re-roll, it's not re-rolling at all.
If you take one habit from today, make it the lock-and-vary-one loop, because it underpins everything else. Lock the seed, change a single thing, compare, repeat. It turns the model from a slot machine into an instrument, and an instrument is something you can actually learn to play. Every other technique in this episode, the seed caveats, the positive phrasing, the failure-mode names, is really just a way of knowing which one thing to change next.